

Basin drain installation kit planning connects the visible waste fitting to the basin, overflow, trap and installer. Importers often receive a drain that looks correct but does not match the basin opening, overflow path, tailpiece connection or exposed finish. A controlled interface schedule prevents on-site substitutions and makes repeated bathroom packages easier to quote and replenish.
Begin with the real FaucetTaps basin drain category, then request the drawing and included-parts list for every proposed drain rather than approving from the top flange alone.
Identify the Basin and Overflow Condition
Record basin type, waste-hole diameter, basin thickness at the outlet, overflow presence and overflow channel position. An overflow basin needs a compatible drain body that permits water to enter the waste path. A non-overflow vessel basin may require a different body and sealing arrangement.
Use the FaucetTaps guide to drain, overflow and bottle-trap compatibility as a coordination checklist. The installer should not drill, cut or omit a component simply because the wrong drain version reached the site.
Confirm Tailpiece and Trap Connection
State tailpiece outside diameter, usable length, thread type where applicable and intended trap connection. Check whether the trap will be concealed in a vanity or exposed below a wall-mounted basin. Exposed installations require finish and alignment control in addition to hydraulic compatibility.
A real product reference such as Bathroom Basin Drain CZ18101 helps buyers discuss the visible style, but the approved record must include the technical interface and accessory pack for the exact project version.
Define the Complete Installation Kit
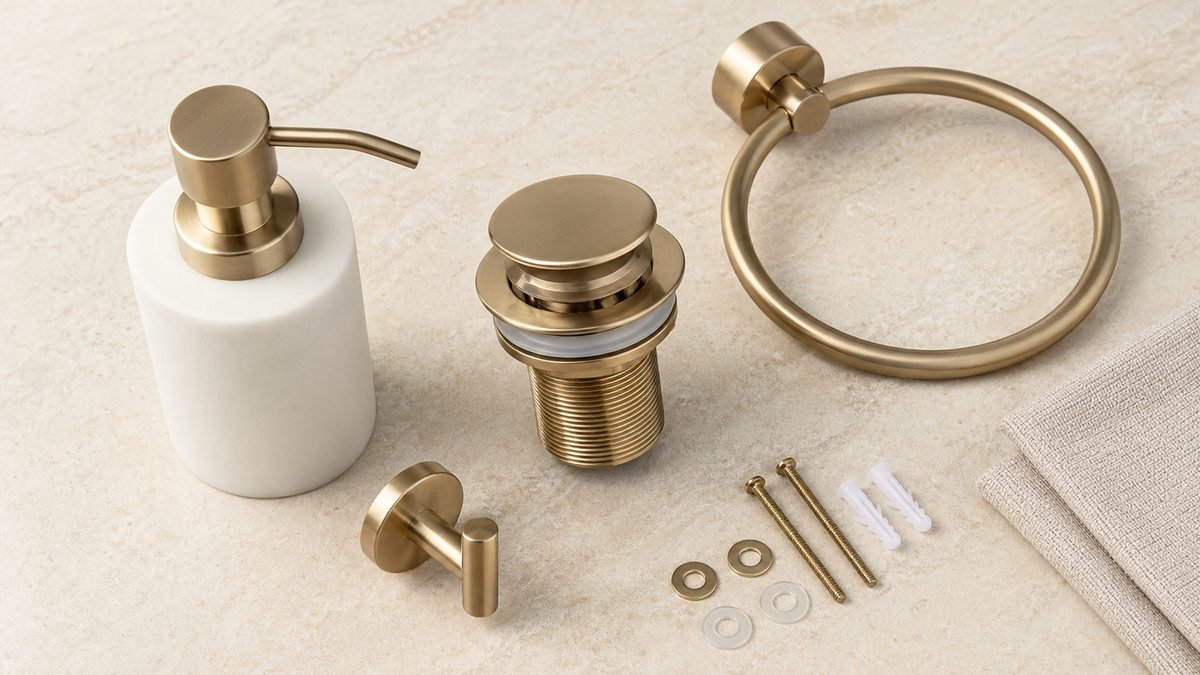
List the drain body, top flange or pop-up mechanism, upper seal, lower gasket, friction washer, fixing nut and tailpiece supplied. State which sealants or site materials are not included and must be selected by the responsible installer under local practice.
Pack each set so gaskets remain flat, threads are protected and finish surfaces do not rub against screws or metal tools. If a coordinated bathroom kit also includes a soap dispenser, towel ring or shower-hose washers, keep each accessory identifiable and protect its finish separately.
Coordinate Finish Across the Visible Accessory Set
Compare the drain flange beside the faucet, dispenser and towel hardware under actual project lighting. Approve one physical finish sample and one supplier finish code. The article on model-apartment accessory coordination shows how visible drains and hardware can be frozen before room quantities are multiplied.
Confirm the Destination Standard and Documentation
Waste-fitting requirements vary by market. ASME describes A112.18.2/CSA B125.2 for plumbing waste fittings and its scope. Importers should confirm the current edition, local code adoption, testing, markings and documentation required for their destination and product type.
Approve a Basin-and-Drain Mock-Up
Install the proposed drain in the actual basin. Check seating, seal compression, overflow flow path, pop-up movement, tailpiece alignment and trap connection. Fill and drain the basin, inspect every joint and repeat the check after the assembly has remained wet. Photograph the approved gasket order and underside connection.
Prepare Receiving and Reorder Data
Receiving teams should sample the drain version, finish, gasket count, nut, tailpiece and any accessory hardware against the approved record. Link replacement seals and mechanisms to the installed drain SKU so future maintenance orders do not rely on appearance alone.
Request an Interface and Kit Review
Send FaucetTaps the basin drawing, overflow detail, waste-hole size, trap connection, exposed finish, quantity and destination market. Our team can discuss a basin drain interface and installation-kit proposal for import, mock-up and phased project delivery.