
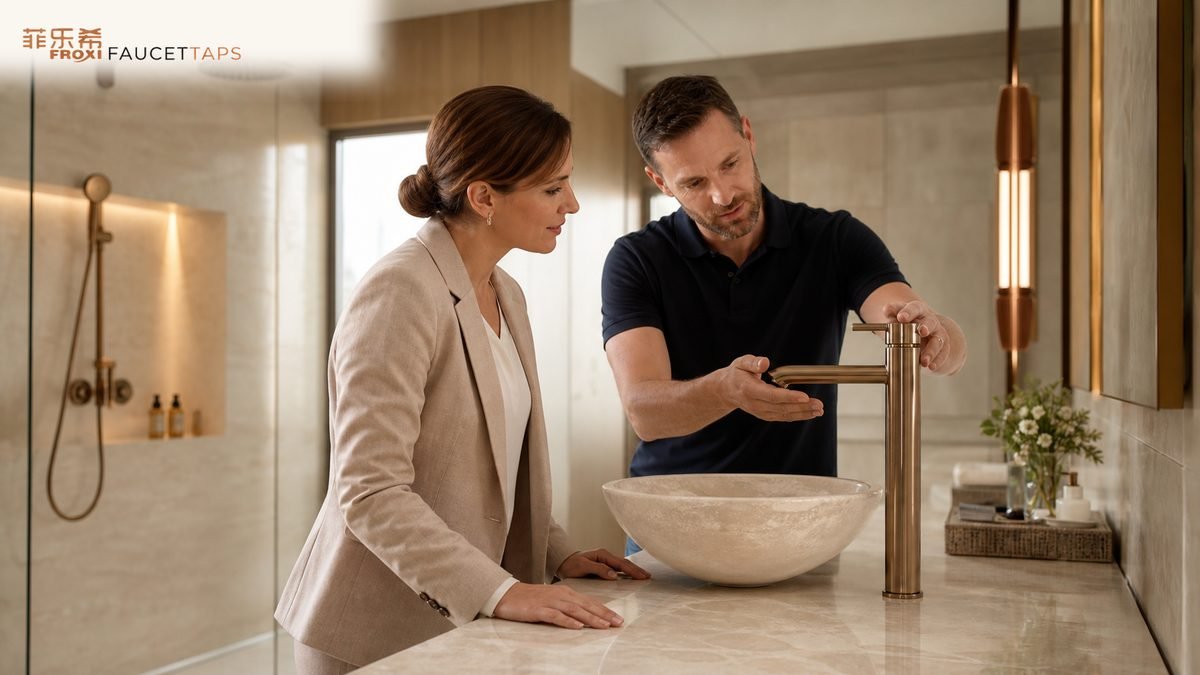
A countertop basin faucet mock-up should prove that a tall faucet, vessel sink and vanity work as one assembly. Height alone is not enough: spout reach, water landing, handle clearance, mirror position and underside access all affect daily use and installation.
Begin with the live FaucetTaps countertop basin faucet category. Obtain the current drawing for the shortlisted model and overlay it on the selected basin and vanity section.
Freeze Finished Levels
Record the floor, vanity top and basin rim elevations. Confirm the finished deck build-up and the faucet mounting surface. Small changes in stone thickness or basin placement can change the perceived outlet height and available fixing depth.
A live model such as Tall Countertop Basin Faucet CZ443101 provides a real selection reference; approve it only with the exact project basin and current model dimensions.
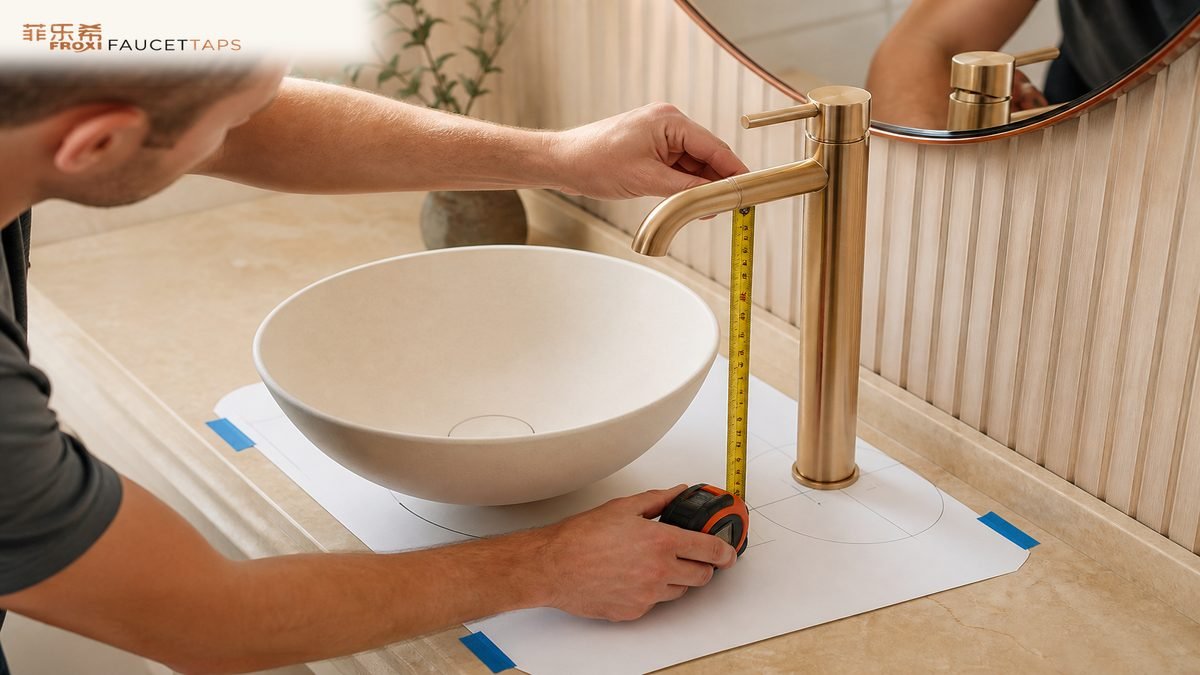
Map the Spout Landing Zone
Mark the faucet centerline, basin outline and expected water landing on a full-size template. The stream should clear the rim and land in a usable part of the bowl without striking a steep surface that throws water toward the user.
Run the installed mock-up at the expected operating pressure. Test low, medium and full flow, then observe splash with normal handwashing movements. Record any acceptable flow adjustment or aerator requirement by model.
Check Reach and Hand Clearance
Confirm users can wash hands without contacting the back wall of the bowl or the spout. Check clearance between the outlet, basin rim and hands. If the basin is moved forward for mirror or backsplash reasons, repeat the test rather than carrying over the original result.
Operate the Handle in the Finished Room
Move the control through its full range with wet hands. Verify clearance from the mirror, backsplash, shelf and basin. Provide enough cleaning space around the base and avoid a narrow gap that traps water and residue.
Compare another real option such as Tall Countertop Basin Faucet CZ432101 under its own geometry. Do not transfer hole position or clearance assumptions between models.
Test the Assembly With Real User Movements
Ask several users to wash, rinse and reach the control without changing the approved setup. Observe where water lands when hands move through the stream, whether sleeves contact the basin edge and whether the handle can be operated without striking the mirror or backsplash. The goal is not a subjective preference survey; it is to expose repeatable conflicts that a static drawing cannot show.
Repeat the check after the counter and basin have been cleaned and dried. Residual water around the faucet base can reveal a narrow cleaning gap, an unsuitable slope or a splash path that was easy to miss during the first run. Record the operating pressure and aerator used so the result is reproducible.
Coordinate Mirror, Lighting and Accessories
A tall faucet sits within the same sightline as the mirror, soap dispenser, towel point and basin drain. Confirm that the reflected faucet does not obscure required mirror use and that lighting does not create distracting glare on a broad metallic finish. Check that dispensers and accessories remain reachable without crowding the handle envelope.
Freeze drilling coordinates only after the complete vanity composition is approved. A late shift to the basin, mirror or backsplash can change spout reach and control clearance even when the faucet specification remains unchanged.
Verify Mounting and Service Access
Install the production fixing kit through the full vanity build-up. Confirm maximum mounting thickness, tool access and hose routing. Drawers and shelves must not block the mounting nut, shutoffs, basin drain or trap.
Simulate a basic service task before closing the mock-up. The maintenance team should be able to isolate the water, reach the mounting hardware and identify the cartridge or aerator reference without damaging the vanity. Photograph the underside layout and add access dimensions to the approved record.
Release Stone Drilling With a Signed Checklist
The release checklist should identify faucet and basin models, centerline coordinates, finished elevations, approved flow setup, splash result, handle envelope, mirror clearance, mounting build-up and service access. Include the date, room type and names of the responsible designer, contractor and procurement representative.
If different room types use different basins or vanity depths, issue a separate approved line for each condition. Do not extrapolate one countertop basin faucet mock-up across the project unless the controlling geometry is demonstrably identical.
Protect the Approved Geometry During Installation
Issue a drilling template or dimensioned setting-out drawing that references finished surfaces rather than unfinished carcass edges. Mark faucet orientation and verify the template on the first production vanity before repeating it. Stone drilling, basin adhesive thickness and backsplash installation should be sequenced so the approved centerline is not lost.
Inspect an early installed room after normal construction cleaning. Confirm the outlet still lands in the accepted zone, the handle remains clear and the fixing stays stable. If the field condition differs from the mock-up, stop repetition and resolve the detail before the same error reaches additional rooms.
Document the Accepted Assembly
The official ASME A112.18.1/CSA B125.1 page outlines plumbing supply fitting scope. Confirm the required edition, certification and destination rules with the responsible authority.
Issue a signed record with faucet and basin models, centerlines, finished levels, landing-zone photos, splash observations, handle clearance, mounting detail and service-access result.
Request a Vessel-Basin Coordination Review
Send FaucetTaps the basin drawing, faucet shortlist, vanity section, mirror location, finish target, room schedule and quantities. We can discuss the mock-up envelope before stone drilling and bulk release.