
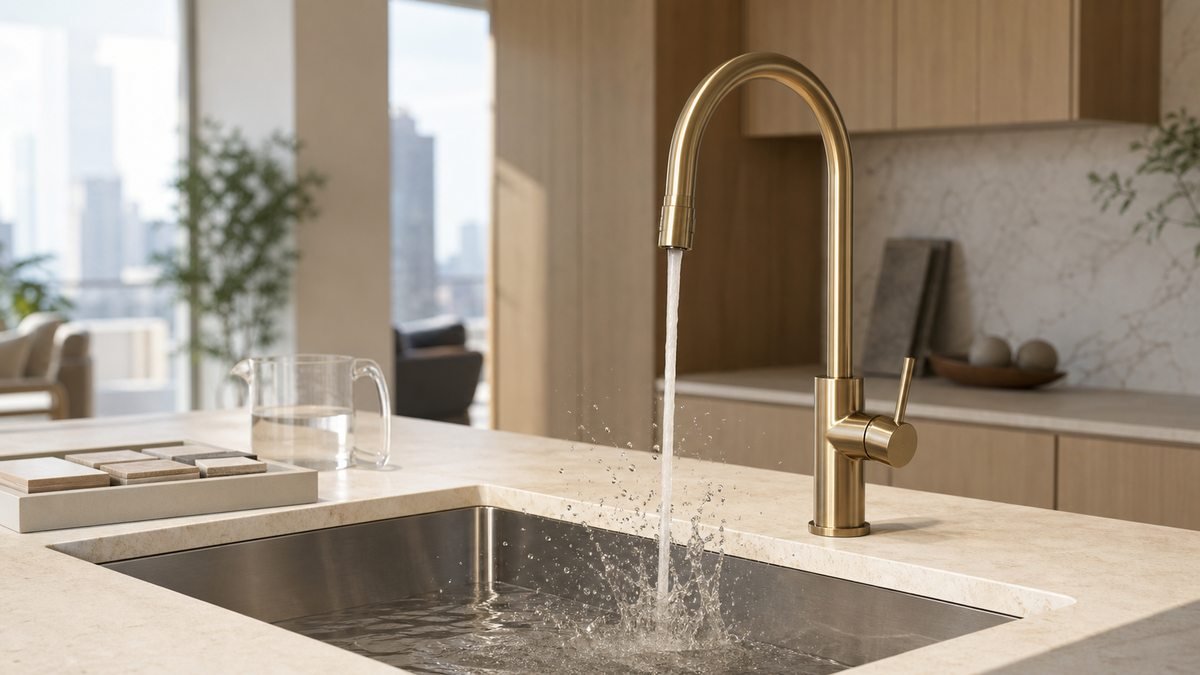
Kitchen faucet flow and splash testing should happen with the actual faucet, sink and water conditions planned for the project. A faucet that looks balanced in a rendering can still send water onto the rear deck, strike a shallow bowl too aggressively or feel weak after the site pressure and aerator are considered. Importers, contractors and hospitality buyers can prevent these problems by approving the combination as a working system rather than as two separate catalogue items.
Start with the real FaucetTaps kitchen sink faucet range and list every sink SKU used in the project. Record bowl length, width, depth, drain position, faucet-hole location and worktop thickness. This schedule becomes the basis for a small but repeatable mock-up program.
Define What Good Performance Means
Agree on acceptance criteria before testing. Buyers should consider comfortable hand washing, fast container filling, quiet operation, usable reach into the bowl and controlled splash around the rim. The test should also confirm that the stream does not strike the drain cover in a way that throws water back toward the user.
Flow rate alone is not enough. Two aerators can deliver similar volume while producing very different stream shapes, velocity and noise. The approved record should identify the exact aerator, spray head or flow regulator used with the sample.
Match Spout Geometry to Every Sink Type
Use the FaucetTaps guide to spout reach and sink geometry to check where the stream lands. A deep single bowl, compact pantry sink and double-bowl sink may need different reach or mounting positions even when the project wants one visual faucet family.
Review a production reference such as Modern Kitchen Sink Faucet CZ811002, then confirm the precise model, spout reach and outlet configuration on the quotation and sample. Product-family images should not substitute for a dimensioned approval drawing.
Run the Test With Production-Intent Parts
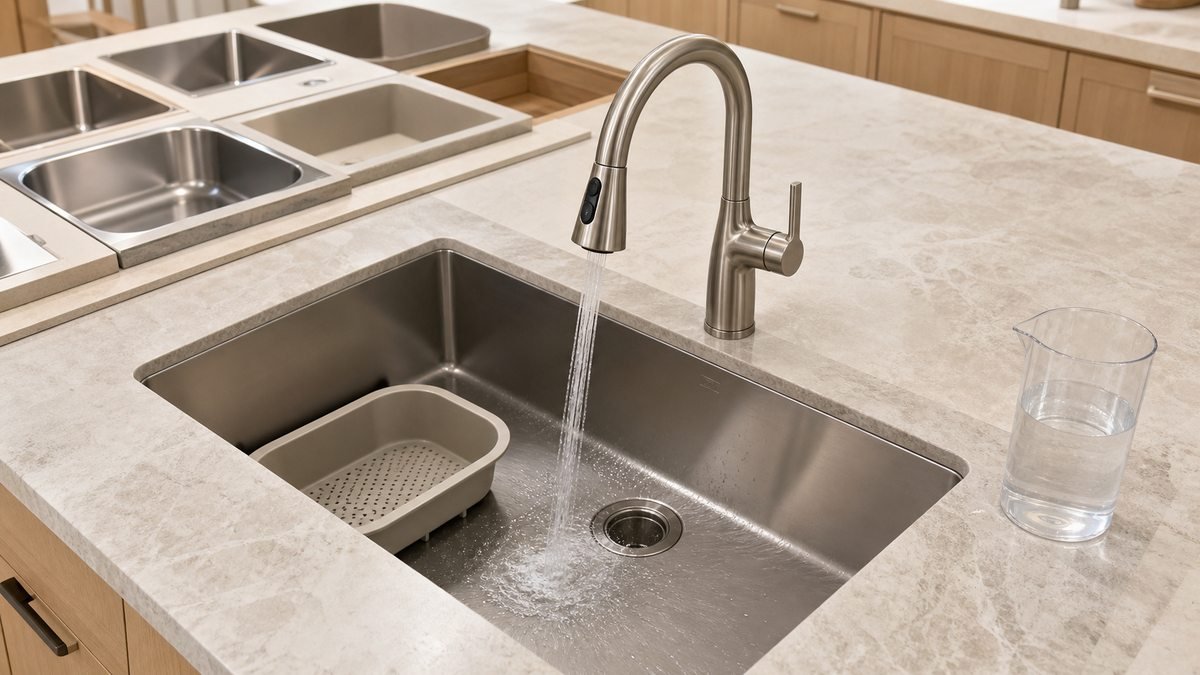
Install the faucet on the real sink and worktop build-up, using the intended supply hoses, shutoff valves and aerator. The supporting image illustrates the principle: water should land predictably inside the working bowl while the deck and surrounding surfaces remain controlled.
Test the normal operating range rather than one ideal laboratory condition. Measure performance at the expected low, typical and high dynamic pressures. If the project uses several buildings or countries, include the realistic range for each destination.
Use Repeatable Splash-Test Actions
Run water into an empty bowl, onto a plate, into a tall vessel and over a strainer or colander. For pull-down models, test both docked and extended positions and each approved spray mode. Observe droplets on the deck, backsplash, cabinet face and user zone after the same timed action.
Keep the procedure simple enough to repeat during supplier approval and site handover. Photograph the test position, note pressure and aerator reference, and use the same vessels for comparison. Avoid changing several variables at once.
Include common user actions, not only a vertical filling test. Rinse a large pan near each corner, wash produce under the stream and move a pull-down head between bowls. These actions reveal whether the hose reach, spray angle and docking position encourage water to leave the sink.
After each sequence, wipe the surrounding deck with a dry inspection cloth and compare the wet area with the agreed limit. This gives buyers a repeatable observation without pretending that a simple site mock-up is a calibrated laboratory test.
Coordinate Flow With Connections and Compliance
Supply hoses, shutoffs and adapters can influence the installed result. Confirm the connection platform using the FaucetTaps water-line connection guide, especially when one faucet family ships to different markets.
Plumbing supply fittings may be subject to destination standards and certification requirements. Buyers can review the official ASME plumbing supply fittings page, then confirm the current edition, scope and evidence required with the local authority or consultant.
Approve Exceptions Instead of Forcing One Combination
If one compact sink splashes while the larger types pass, do not weaken every faucet unnecessarily. Consider a different aerator, revised faucet-hole position or an alternative spout for that sink type. Record the exception clearly in the room or unit schedule.
For projects using one visual family, finish and handle styling can remain coordinated while functional geometry changes by sink. Procurement documents should connect each faucet model to its approved sink SKU so installers do not mix combinations.
Carry the Result Into QC and Handover
Retain the approved sample or a signed video record with pressure, aerator and sink details. During incoming inspection, verify the outlet insert and model reference. During site commissioning, sample each sink type and compare stream landing, noise, flow and retraction against the approved result.
Train installers not to remove an approved flow control because a room feels slow before the lines are flushed. Debris at the aerator, a partly closed shutoff or construction residue can imitate a specification problem. Diagnose the installed condition before substituting components.
Handover information should identify the correct replacement aerator and cleaning method. Maintenance teams then have a controlled way to restore performance without changing the spray pattern that was approved with the sink.
Send FaucetTaps your sink schedule, faucet shortlist, pressure range, quantities and destination requirements. Our team can discuss kitchen faucet flow and splash testing and prepare a practical sample-review plan before bulk release.